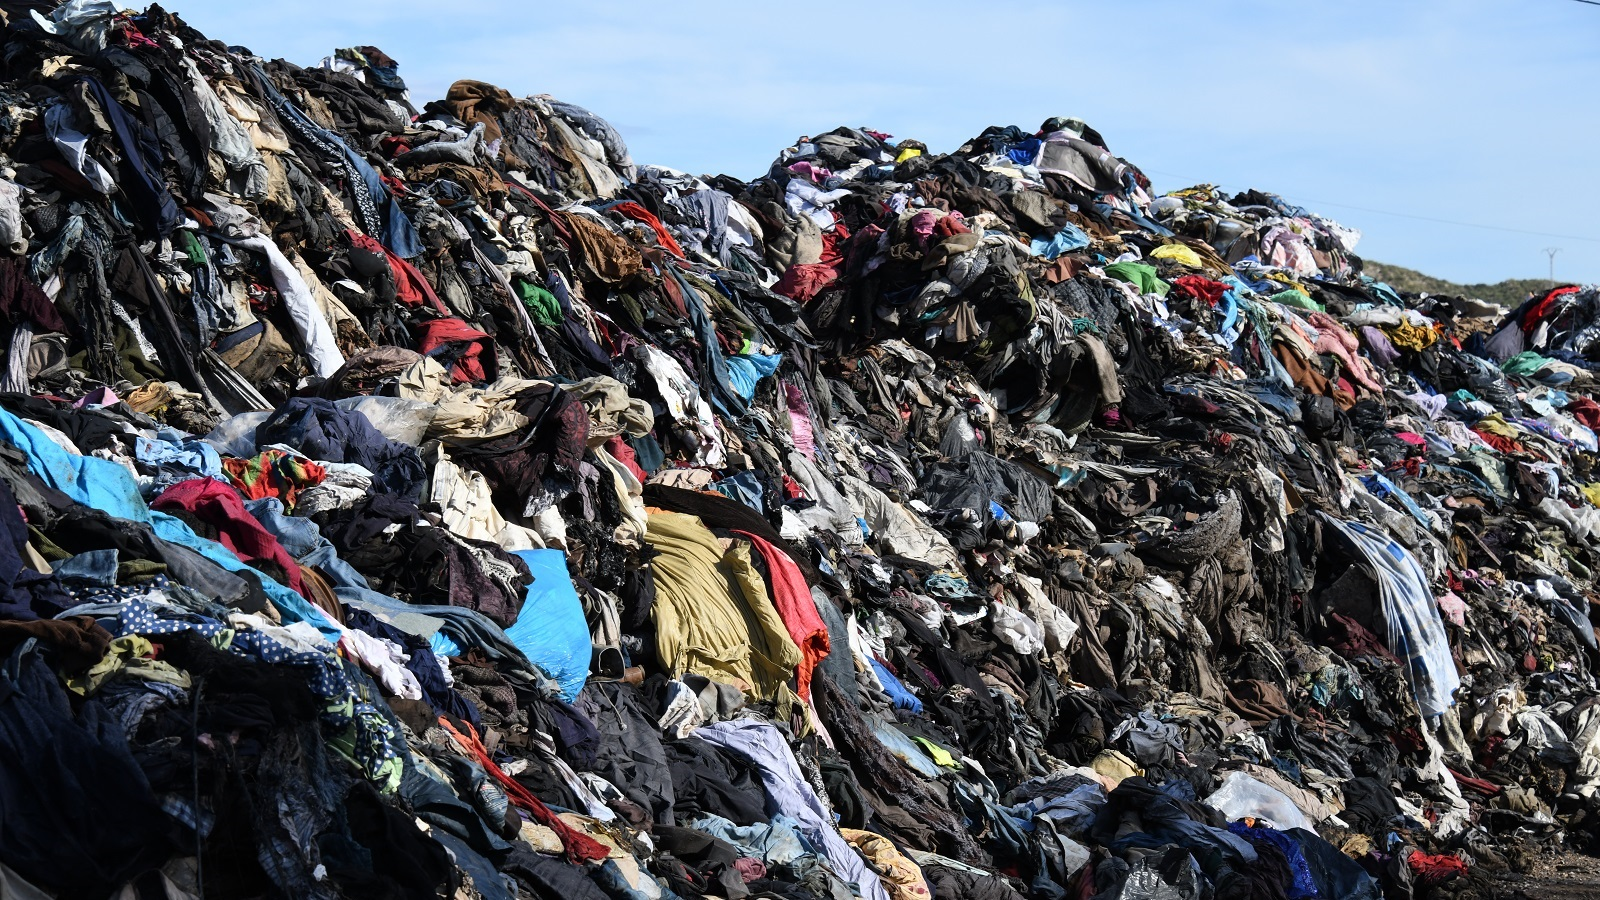
Lying down in your wardrobe are probably apparels that you haven’t worn in a long time, gone out of fashion or even clothes that haven’t been worn before. On average, each person discards around 23kg of clothes per year.
According to BBC Future, recycling unwanted clothes is a tedious process-- almost impossible. Sorting textiles into different fibres and material types by hand is labour intensive, slow and requires a skilled workforce.
Instead of throwing your old clothes away, here are some ideas for upcycling your clothes.
Turn your old clothes into tote bags

Tote bags is something that is indispensable in our lives. Not only it is stylish, but it is also convenient as well. Why not use some of your old shirts and revamp them into a tote bag?
Materials needed
1. Old t-shirt – The thicker the fabric, the sturdier the bag
2. Fabric Scissors
Steps
1. Cut the sleeves off
2. Cut the neckline area
3. Determine the depth of the bag you want.
4. Cut slits from the bottom of the shirt up to the line marking the bottom of your bag.
5. Tie Fringe. Take your first pair of fringe and tie it into a knot, then tie two more pairs. Now if you lift your bag you’ll see that although the pairs are pulling the bag together, there’s a hole between each pair.
6. Take the remaining strand on the right set and tie it to the next set of strands, and so on and so forth until all the strands are tied.
Tie-dye your shirts

You may have seen the tie-dye trend back in the 70s-- in vibrant colours and unique designs. The tie-dye trend has returned today, so if you have an old t-shirt, it’s time to unleash your creativity and DIY your own tie-dye shirt!
Materials needed
1. Bucket or container for dye
2. Glass jar with tight-sealing lid
3. Rubber gloves
4. Measuring spoon
5. Fiber-reactive dye
6. Soda ash fixative
Steps
1. Put on your gloves
2. Fill the bucket with 1 gallon of cool water, then fill the jar halfway with cool water.
3. Measure 2 to 4 teaspoons of dye powder into the jar. Close the lid securely and shake the jar until all the powder is dissolved. Pour the dye into the bucket and stir.
4. Next, fill the jar halfway with hot water. Add 6 teaspoons of soda ash, then close the lid and shake vigorously.
5. Pour the mixture into the bucket and stir. Repeat these steps to make dye in other colors, if desired.
6. Prepare the T-shirt. Choose a 100% cotton T-shirt.
7. Plan the design and rubber bands to make the desired design.
8. Soak the shirt for 30 minutes to 1 hour, depending on how deep of color you want
Do cute embroidery styles on your old clothing
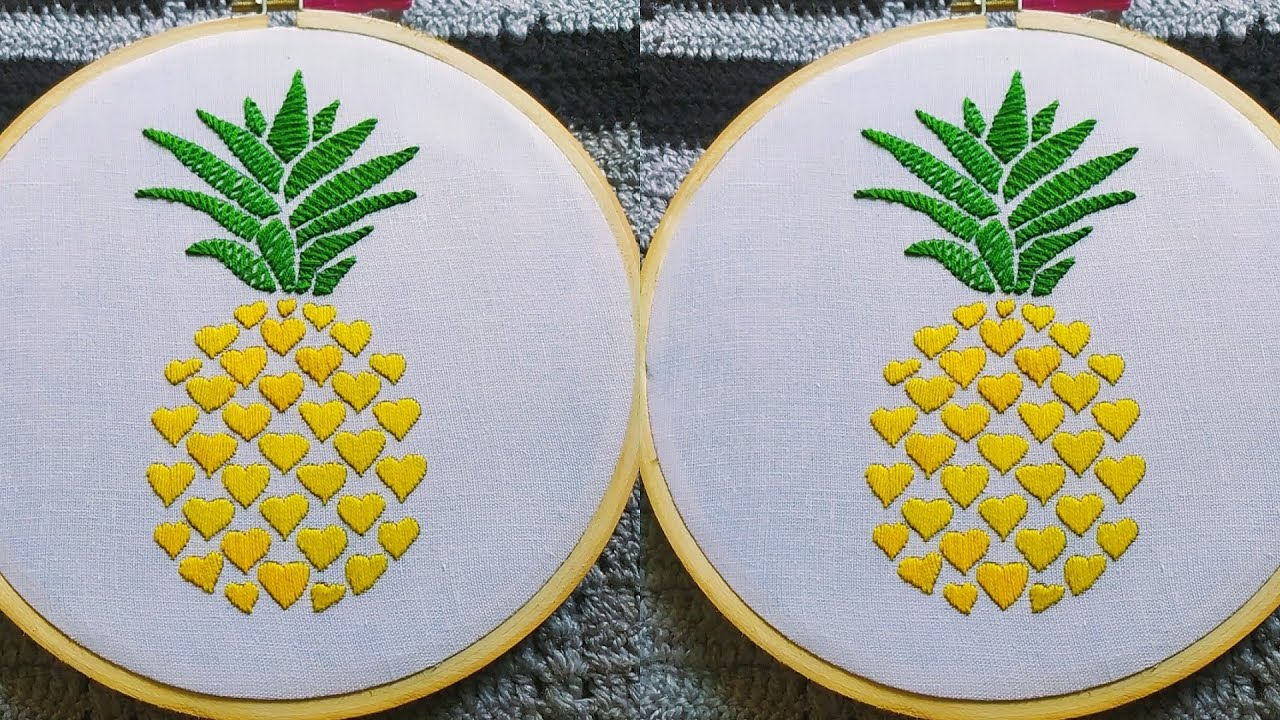
Embroidery is not only cute and easy to do, but it also helps to enhance one’s happiness and well-being. It is an activity that reduces stress and anxiety too! Why not kill two birds with one stone by doing some cute embroidery patches on your clothes and relieve stress too?
Materials needed
1. Stabilizer
2. Embroidery hoop
3. Needle (round end preferred)
4. Iron
5. Embroidery floss
Steps
1. Turn the shirt inside out
2. Slide a piece of paper between the layers of fabric
3. Place the stabilizer in the area you will be stitching
4. Take large basting stitches with a needle and thread to secure the stabilizer to the T-shirt
5. Turn the shirt right side out
6. Place the inner hoop inside the shirt under the area you are stitching. Press the outer hoop over the fabric and inner hoop with even pressure, avoiding stretching the fabric
7. Securely weaving in the ends will keep your embroidery looking beautiful
8. Cut Away the Excess Stabilizer Before Soaking
9. Gently iron your finished embroidery from the backside to smooth out any wrinkles and remove hoop markings
DIY scrunchies

Scrunchies is another necessity for most ladies out there! You can even make it as a gift with the fabric from your t-shirt.
Here’s how you can do it:
Materials needed
1. Fabric - 4 1/2 inches X 22 inches
2. Scissors
3. Hot glue gun & glue sticks
4. A quarter-inch elastic
Steps
1. Begin with a piece of fabric that is 4 1/2 inches by 22 inches
1. On the short end of the fabric, add a line of glue along the edge
3. Fold over the edge of the fabric on top of the glue. Repeat with the other end.
4. Fold the fabric in half lengthwise, with the pattern on the inside
5. Place a bead of glue along the outer edge of one side of the fabric. Place the other side on top
6. Turn the tube right side out
7. Cut a 10-inch piece of elastic. Insert it into the tube and tie the ends in a square knot
8. To finish the scrunchie, insert one end inside the other. Add a little glue on both sides to secure
Next time, apart from discarding your old clothing, try the above methods! To find out how you can start decluttering your wardrobe, read our previous article here.
Written By:
Aricia Yee,
Intern